Uptime Kuma: Kendi Monitoring Sisteminizi Kurun
SaaS monitoring servislerine para ödemeyin. Uptime Kuma ile kendi sunucunuzda şık, modern ve güçlü bir izleme altyapısı kurun.
Bir sabah uyandığınızda Twitter’da kullanıcıların “Site çöktü mü?” diye sorduğunu görmek, bir kıdemli mühendisin en kötü kabusudur. Daha kötüsü, site çöktüğünde sizin en son haberiniz olmasıdır. Piyasada Pingdom, Datadog veya UptimeRobot gibi harika araçlar var. Ancak ya limitlere takılırsınız (5 dakikalık ping süreleri), ya fahiş fiyatlarla karşılaşırsınız ya da hassas verilerinizi dışarıya açmak istemezsiniz.
İşte tam burada Uptime Kuma sahneye çıkıyor. Açık kaynak, Docker ile 5 dakikada kurulan, arayüzü modern ve inanılmaz yetenekli bir araç. Bu yazıda, sadece kurulumu değil, SLA/SLO kavramlarını, güvenlik sıkılaştırmalarını ve “Kendi Göbeğini Kesen” otomasyon kurgularını inceleyeceğiz.
1. Monitoring Felsefesi: SLA, SLO ve SLI
Bir aracı kurmadan önce “Neyi, Neden Ölçüyoruz?” sorusunu sormalıyız. Google SRE kitabından üç temel kavram:
- SLA (Service Level Agreement): Müşteriye verdiğiniz söz. “%99.9 ayakta kalacağım, yoksa para iadesi yaparım.” (Hukuki/Ticari).
- SLO (Service Level Objective): Mühendislik hedefiniz. “SLA %99.9 ise, biz içeride %99.95’i hedefleyelim ki payımız olsun.”
- SLI (Service Level Indicator): Gerçekleşen metrik. “Şu anki uptime oranımız %99.99.”
Uptime Kuma, SLI verilerinizi toplar ve Dashboard üzerinden SLO hedeflerinizi (Sertifika bitişi, Response Time < 500ms) takip etmenizi sağlar.
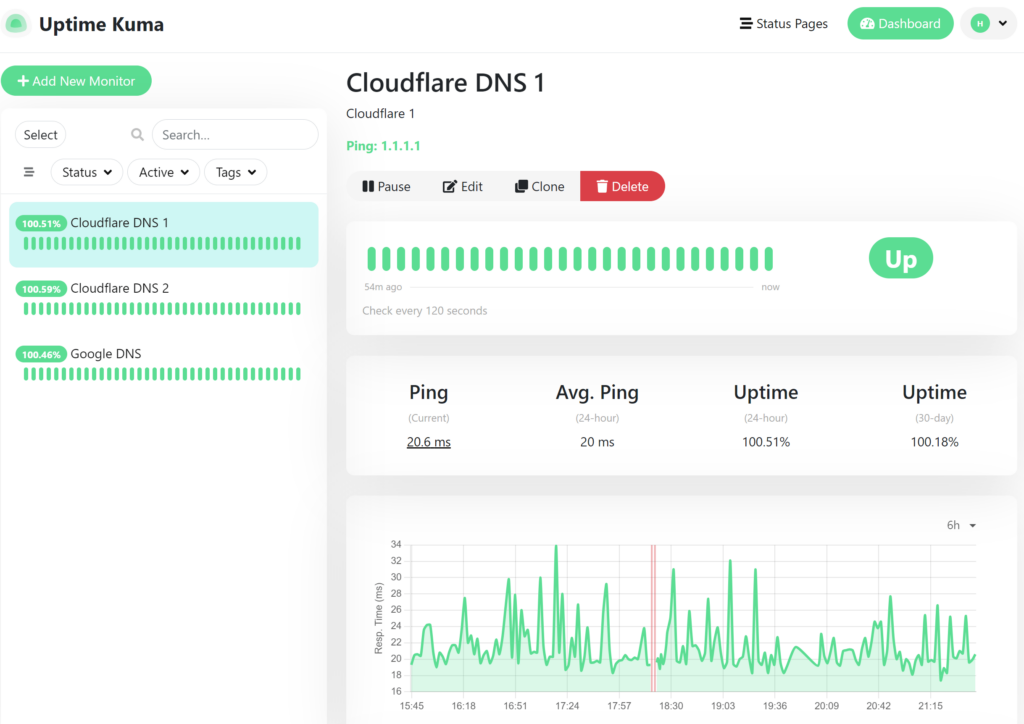 Karanlık modlu, şık ve reaktif gösterge paneli.
2. Docker ile Production Kurulum
Basit bir docker run komutu test için yeterlidir ama production ortamında verinin kalıcılığı (Persistence) ve log yönetimi şarttır.
1
2
3
4
5
6
7
8
9
10
11
12
13
14
15
16
17
# docker-compose.yml
version: '3.3'
services:
  uptime-kuma:
    image: louislam/uptime-kuma:1
    container_name: uptime-kuma
    volumes:
      - ./uptime-kuma-data:/app/data # Veriler burada saklanır
      - /var/run/docker.sock:/var/run/docker.sock # Docker konteynerlerini izlemek için
    ports:
      - 3001:3001
    restart: always # Sunucu reboot olursa otomatik başla
    logging:
      driver: "json-file"
      options:
        max-size: "10m"
        max-file: "3"
Kritik Not: /var/run/docker.sock dosyasını bağlamak güvenlik riski oluşturabilir. Eğer Uptime Kuma ele geçirilirse, saldırgan host makinedeki tüm konteynerlere erişebilir. Mümkünse telegraf veya cAdvisor gibi aracı ajanlar kullanın veya sadece TCP ping atın.
3. Reverse Proxy ve WebSocket Ayarları
Uptime Kuma, anlık veri akışı için Socket.io (WebSocket) kullanır. Eğer Nginx arkasına alıyorsanız ve “Connecting…” yazısında takılıyorsa, WebSocket başlıklarını eksik girmişsiniz demektir.
1
2
3
4
5
6
7
8
9
10
11
12
server {
    listen 443 ssl http2;
    server_name status.sirketim.com;

    location / {
        proxy_pass http://localhost:3001;
        proxy_http_version 1.1;
        proxy_set_header Upgrade $http_upgrade; # WebSocket için zorunlu
        proxy_set_header Connection "upgrade";
        proxy_set_header Host $host;
    }
}
Ayrıca, Cloudflare kullanıyorsanız “WebSockets” özelliğinin açık olduğundan emin olun (Varsayılan açıktır).
4. İzleme Stratejileri: Sadece Ping Yetmez
Siteniz “200 OK” dönüyor olabilir ama içinde “Veritabanı Bağlantı Hatası” yazıyorsa siteniz aslında çökmüştür.
- Keyword Monitoring (İçerik Kontrolü): Sayfada belirli bir kelimenin (örn: “Footer”, “Copyright”) varlığını kontrol edin.
- JSON Query: API endpointlerinizi sadece pinglemeyin. Dönen JSON içinde
{"status": "success"}var mı diye bakın. - SSL Sertifikası: Let’s Encrypt kullanıyorsanız sertifikanız 90 günde bir yenilenir. Bazen cron job çalışmaz. Uptime Kuma bitime 14 gün kala sizi uyarır.
- Database Monitoring: Port (3306, 5432) kontrolü, veritabanı servisinin ayakta olduğunu gösterir ama sorguya cevap verip vermediğini göstermez. Araya bir API katmanı koyup onu izlemek daha sağlıklıdır.
5. Otomasyon: Self-Healing Systems
Bildirim almak güzeldir, ama sorunu otomatik çözmek daha güzeldir (Self-Healing). Uptime Kuma’nın Webhook özelliğini kullanarak bir “Tetikleyici” oluşturabilirsiniz.
Senaryo: Backend servisi çöktü (502 hatası).
- Uptime Kuma sorunu tespit eder (Retry: 3).
- Webhook ile
remedy-scriptsunucunuza POST isteği atar. - Script,
systemctl restart my-backendkomutunu çalıştırır. - Servis ayağa kalkar, siz uyurken sorun çözülür. Sabah sadece “Restart edildi” mailini görürsünüz.
6. Güvenlik Sıkılaştırması (Hardening)
Uptime Kuma varsayılan olarak herkese açıktır. Kurar kurmaz şunları yapın:
- Authentication: İlk girişte admin şifrenizi güçlü belirleyin.
- Disable Registration: Ayarlardan “Allow registration” tikini mutlaka kaldırın. Yoksa başkaları gelip kendi monitorlerini ekleyebilir.
- 2FA (İki Faktörlü Doğrulama): TOTP (Google Authenticator) desteği vardır. Mutlaka açın. Monitoring sistemi, altyapınızın haritasıdır; saldırganlar için hazinedir.
- IP Kısıtlaması: Nginx veya Cloudflare üzerinden sadece ofis IP’nize veya VPN IP’nize izin verin.
7. Status Page: Şeffaflık Güven Sağlar
Müşterileriniz “Sistem çalışmıyor mu?” diye destek ekibini darlamasın. Uptime Kuma içinde Status Page (Durum Sayfası) oluşturucu gömülü gelir. status.sirketim.com adresinde, logonuzla markalanmış, hangi servislerin (API, Web, DB) ayakta olduğunu gösteren bir sayfa yayınlayın. Planlı bakım çalışmalarını (Maintenance Window) buradan duyurabilirsiniz.
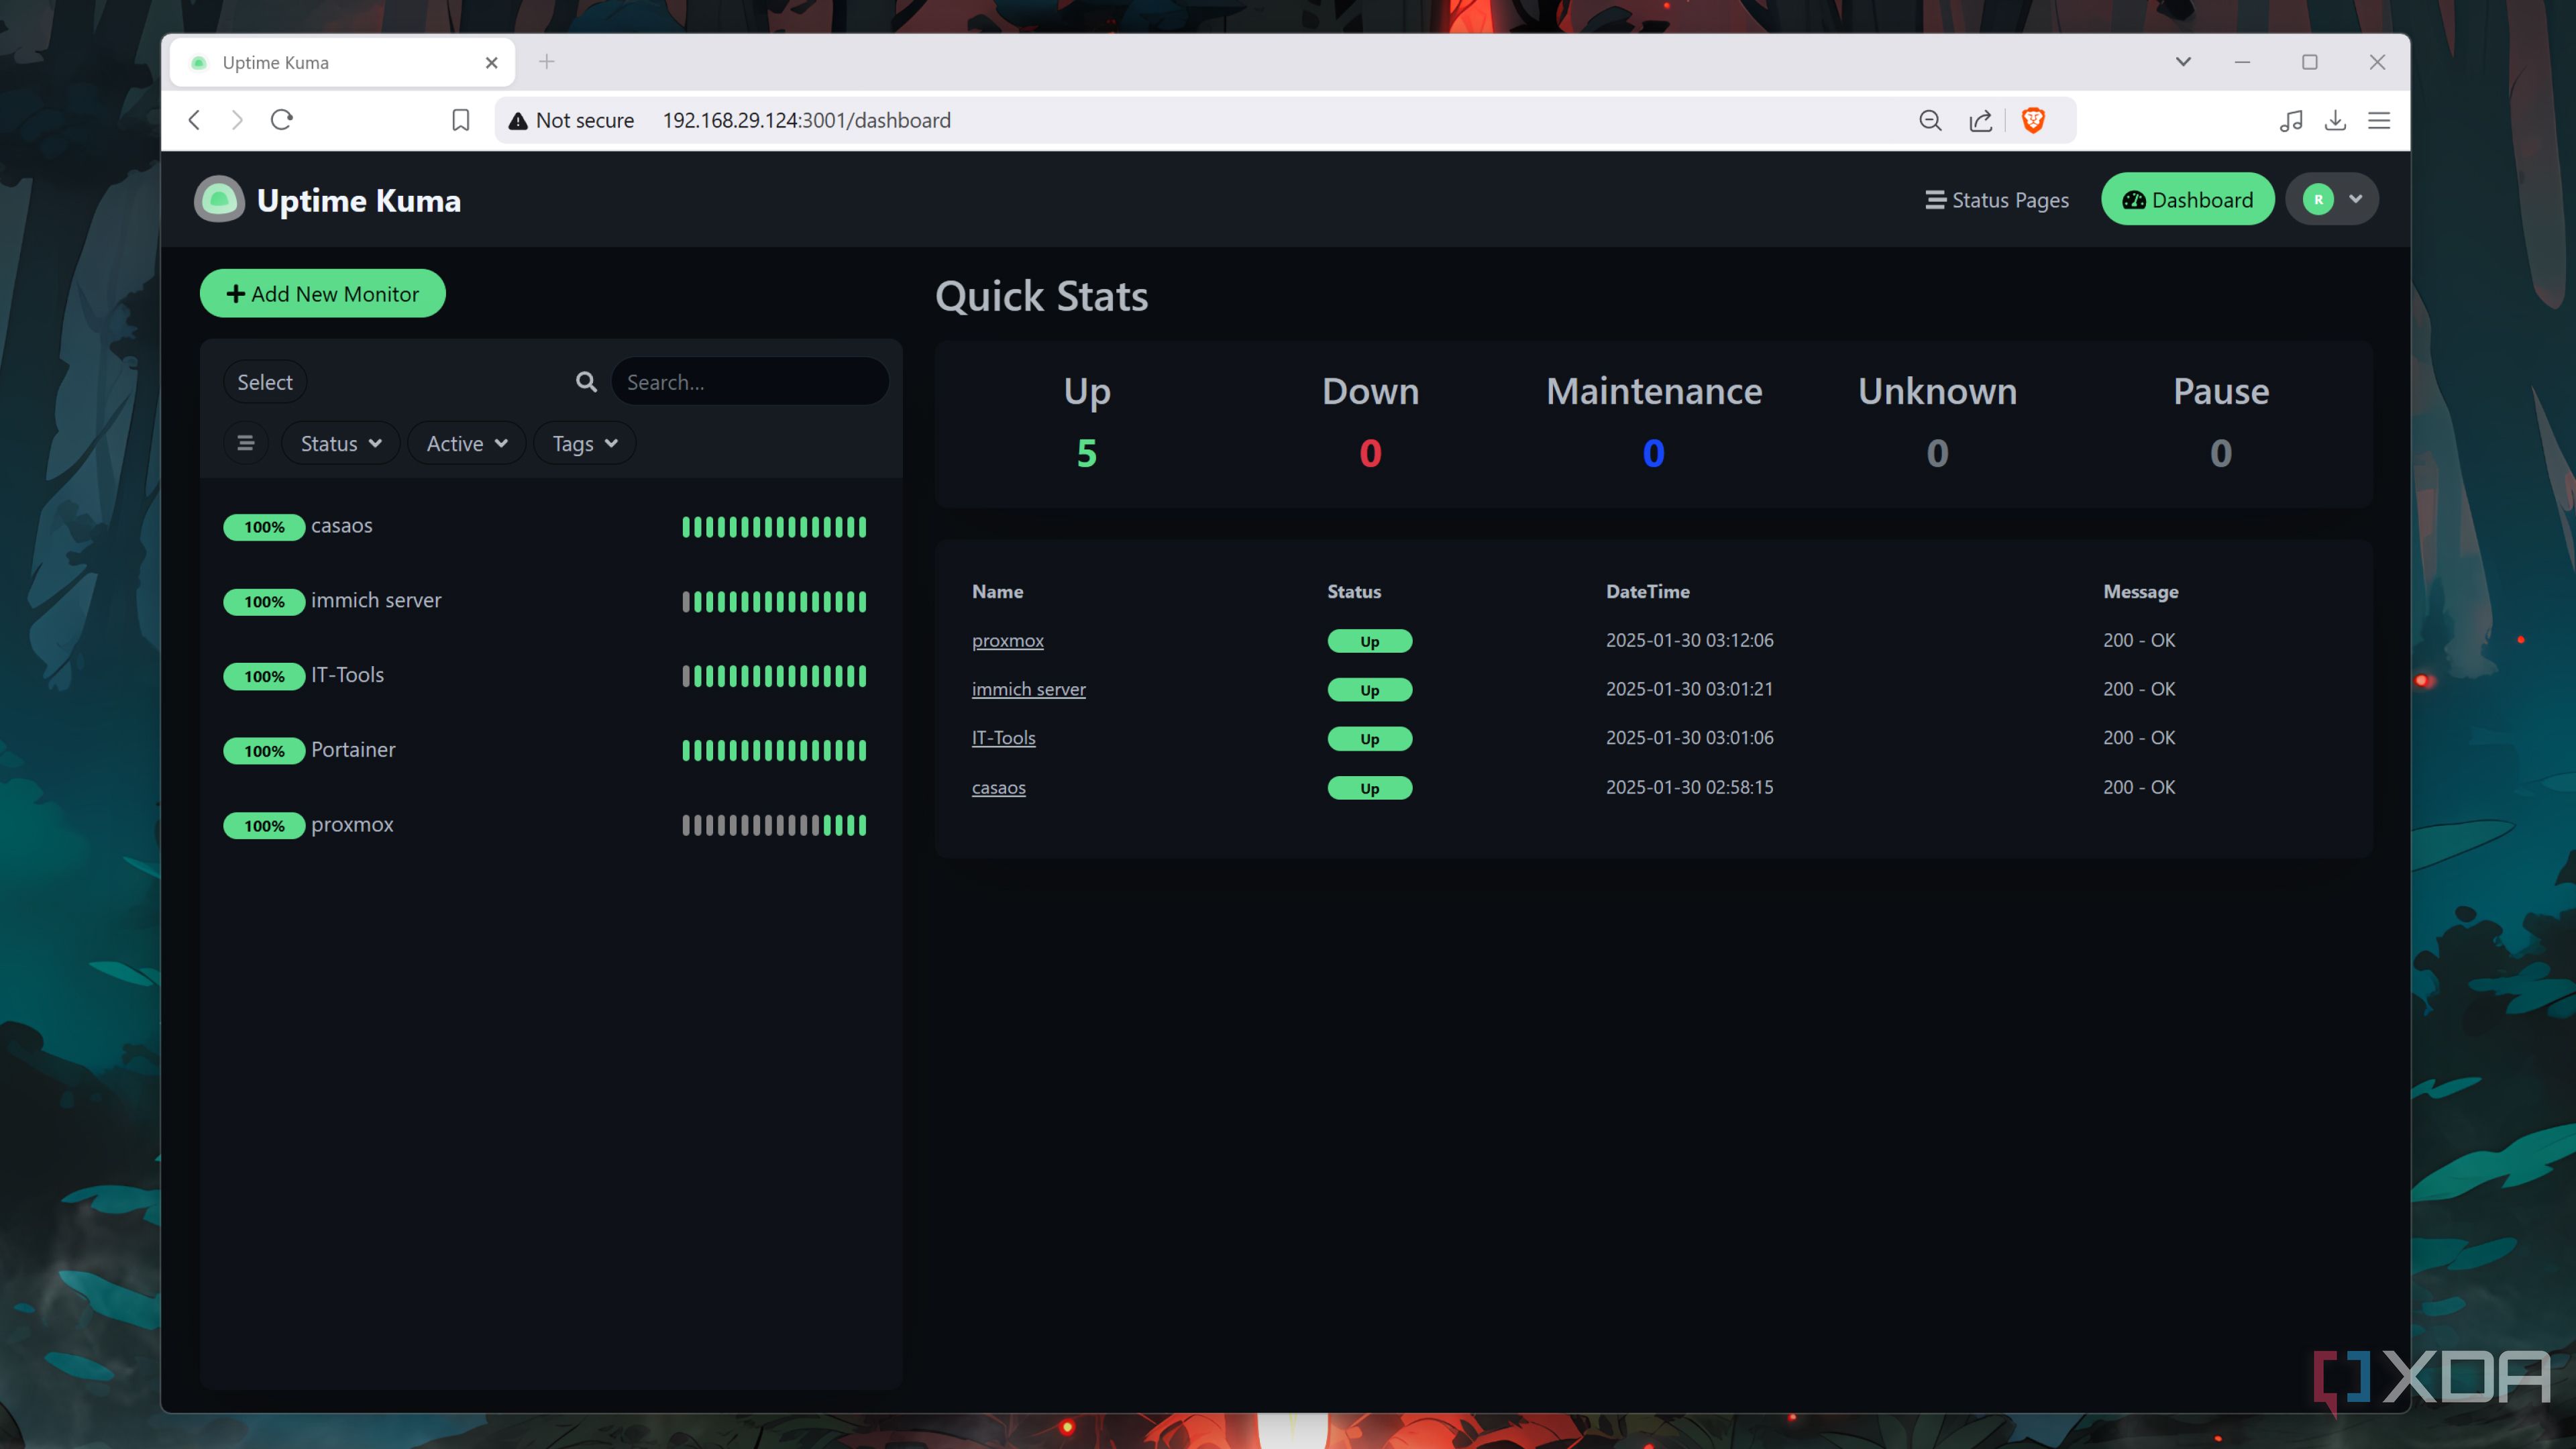 Monitor -> Check (Fail) -> Retry -> Notification Channel akışı.
8. Backup ve Restore Stratejisi
Sistemler çöker. Monitoring sisteminiz de çökerse kör kalırsınız. Uptime Kuma, tüm veriyi (geçmiş grafikler, ayarlar) tek bir SQLite dosyasında tutar: kuma.db. Bu dosyayı yedeklemek tüm sistemi yedeklemek demektir.
Basit bir Cron job ile her gece yedek alabilirsiniz:
1
2
3
4
5
6
7
8
9
10
11
12
#!/bin/bash
# backup_kuma.sh
BACKUP_DIR="/backups/uptime-kuma"
DATA_DIR="/opt/uptime-kuma/data"
DATE=$(date +%Y-%m-%d)

# Database lock yaşamamak için kopyalamadan önce durdurmak en güvenlisidir
# Ama SQLite WAL modu açıksa canlıyken de kopyalanabilir.
cp $DATA_DIR/kuma.db $BACKUP_DIR/kuma-$DATE.db

# 7 günden eski yedekleri sil
find $BACKUP_DIR -type f -mtime +7 -name "*.db" -delete
Bu scripti crontab’a ekleyin (0 3 * * *). Sunucunuz yanarsa, yeni sunucuda Docker’ı çalıştırıp bu dosyayı geri yüklemeniz 2 dakika sürer.
9. İleri Seviye Bildirim Ayarları (Discord & Telegram)
Sadece “Site Down” mesajı yetmez. Hangi hata koduyla düştü? Ne zaman düştü? Uptime Kuma’nın JSON template yeteneği burada parlar.
Telegram Kurulumu:
- BotFather’a gidin (/newbot).
- Token alın.
userinfobotile kendi Chat ID’nizi öğrenin.- Uptime Kuma -> Settings -> Notifications -> Telegram.
Discord Webhook (Özel Renkli Mesaj): Discord’a sade text yerine “Embed” formatında mesaj atmak için custom script kullanabilirsiniz veya Uptime Kuma’nın yerleşik Discord desteğini kullanın. Ancak daha profesyonel bir şey isterseniz:
1
2
3
4
5
6
7
8
9
10
11
12
13
14
15
{
  "username": "Uptime Kuma",
  "avatar_url": "https://uptime.kuma.pet/img/icon.png",
  "embeds": [{
    "title": "🔴 Servis Kesintisi: ",
    "color": 15548997,
    "description": "Hata Mesajı: \nZaman: ",
    "fields": [
      {
        "name": "Ping",
        "value": "ms"
      }
    ]
  }]
}
Bu payload sayesinde Discord kanalınızda kırmızı alarm ışıkları yanar.
Sonuç
Uptime Kuma, Prometheus + Grafana ikilisinin öğrenme eğrisine (Learning Curve) girmek istemeyen ama basit Ping araçlarından fazlasını arayan ekipler için mükemmel bir “Sweet Spot” çözümüdür. Kurulumu kolaydır, yedeği (data klasörü) kolay alınır ve bir DevOps İsviçre Çakısı gibi her işe yarar.
Unutmayın, izlemediğiniz sistemi yönetemezsiniz. Ve eğer bir sistem kendi kendine iyileşmiyorsa (Self-Healing), gece uykularınız her zaman tehlikededir. Şimdi docker-compose up deyin ve nöbeti Uptime Kuma’ya devredin.